
How to Check Mouse DPI: Find Your DPI, Use a DPI Analyzer and Set the Right eDPI
Your mouse DPI decides how far the cursor moves for each inch your hand travels. Here is how to check it in software, in Windows, and with a DPI analyzer.

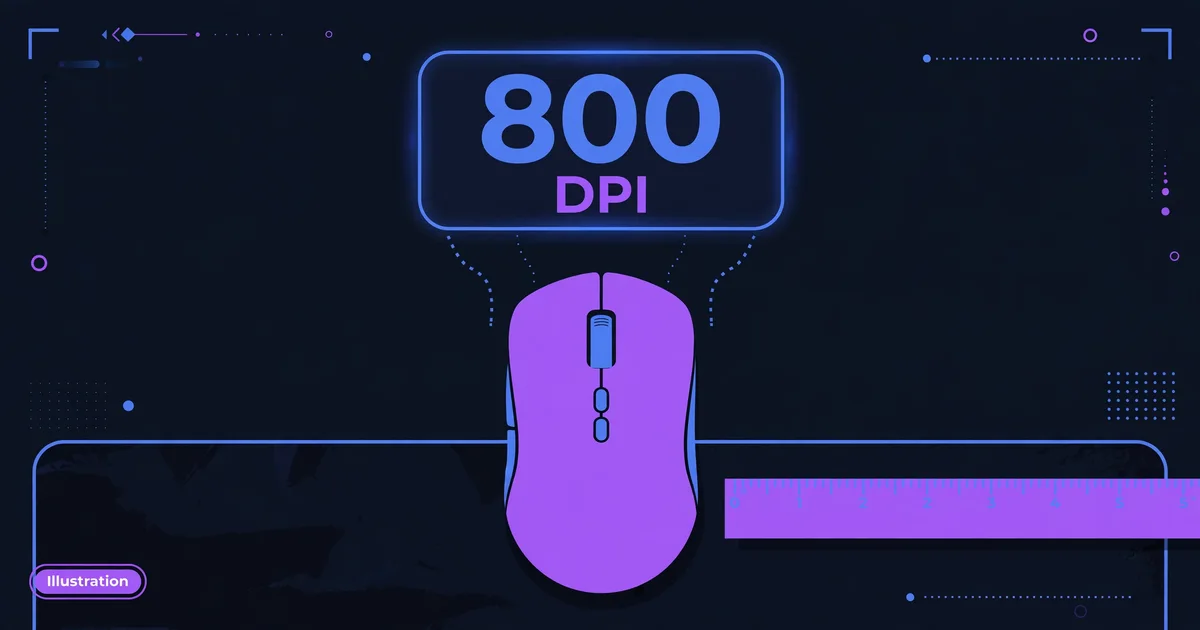
You changed your mouse, your aim feels off, and you have no idea what DPI you are playing on. Learning how to check mouse dpi takes about two minutes, and it starts with the number your mouse is already set to — not the number printed on the box.
Five ways to find it: the maker’s software, the DPI button, a DPI analyzer, a ruler, and the settings Windows and macOS actually show.
Short answer
How to check mouse DPI: open your mouse maker’s software — Logitech G HUB, Razer Synapse or SteelSeries GG — and read the highlighted DPI stage. That is your current DPI. Without software, press the DPI button on the mouse to cycle stages, or measure the real value with a DPI analyzer. Windows and macOS show pointer speed, not DPI.
Who this guide is for
This guide is for any PC or Mac gamer who wants the real DPI number their mouse is running right now.
This is for you if
- You play Valorant or CS2 and want your aim to feel the same every session — our guide to the best mouse for valorant explains how pro players turn a DPI reading into eDPI.
- You just bought a new mouse and your aim feels faster or slower than your old one.
- You play left-handed or with a symmetrical shape — see our guide to the best ambidextrous gaming mouse for shapes that suit both grips.
Look elsewhere if
- You are shopping for a mouse and want a recommendation — this guide only finds the number.
- Your mouse has no software and no DPI button — a fixed-DPI office mouse has no setting to read.
Check this before you measure
Three checks decide whether the number you read is the number you actually play on.
Three things to check
- Which profile is active Gaming mice store a DPI stage per profile. Check the profile you play on is the one showing.
- Pointer acceleration Turn off Enhance pointer precision in Windows, or Pointer acceleration on Mac, before you measure.
- Browser zoom A DPI analyzer runs in the browser, so set the zoom to 100% before you start.
Building more than one piece? Plan the rest of your setup in the Setup Builder before you order.
How this guide was researched
Every step below comes from a manufacturer support page, an operating-system help page, or the DPI analyzer’s own instructions.
How we researched this
- Read Logitech’s G HUB support page and Razer’s Synapse pages for how DPI stages are shown.
- Read SteelSeries manuals for how CPI 1 and CPI 2 work and what the CPI button does.
- Read Microsoft’s and Apple’s mouse help pages for what Windows and macOS do and do not show.
- Checked the DPI Analyzer on mouse-sensitivity.com: its page returned an error when loaded on 18 November 2026, so its steps follow the tool’s instructions as quoted in independent guides.
- Specifications come from manufacturer documentation. GameVexo does not physically test products — see how we research.
How to check mouse DPI: the five methods
Start with the software — it is the fastest and the most exact.
| Method | What it tells you | Time | Needs |
|---|---|---|---|
| Maker’s software | The exact DPI stage, live | 1 minute | The maker’s app installed |
| DPI button | The active stage, by cycling | 10 seconds | A button on the mouse |
| DPI analyzer | The real, measured DPI | 5 minutes | A browser and a ruler |
| Ruler method | The real, measured DPI | 10 minutes | A ruler and a paint app |
| Windows / macOS settings | Pointer speed only — no DPI | 1 minute | Nothing |
Read it in the maker’s software
Use this method first. Logitech G HUB, Razer Synapse and SteelSeries GG show the DPI your mouse is set to right now. No maker app means nothing to read — move on to the next method.
In Logitech G HUB, select your mouse, then open Sensitivity (DPI). The highlighted stage is the one your mouse is using — the G705 ships with three defaults (800, 1,600, 3,200) and G HUB lets you set up to five.
In Razer Synapse, open the Dashboard, select your mouse, then open the PERFORMANCE tab. Sensitivity Stages shows up to five stages with a slider for each; the highlighted stage is active.
In SteelSeries GG, open Engine, select your mouse, and look for the CPI 1 and CPI 2 dial gauges. SteelSeries calls the setting CPI, not DPI, and the toggle button switches between the two.
Press the DPI button on the mouse
Most gaming mice have a small button behind the scroll wheel that cycles through the DPI stages. Press it once and the mouse jumps to the next stage — on Razer mice the defaults are 400, 800, 1,600, 3,200 and 6,400.
The mouse tells you which stage you landed on: an LED changes colour, or a notice appears on screen. What the colour means differs on every model, so check the manual. On a SteelSeries Prime Mini, a quick press changes the CPI level and the scroll wheel glows for three seconds: purple 400, blue 800, green 1,200, yellow 2,400, red 3,200. Some mice put the button underneath instead. No button and no app means a fixed DPI.
Measure it with a DPI analyzer
If you want the real DPI — what the sensor actually reports, not what a setting claims — use a DPI analyzer. The best-known free one is the DPI Analyzer on mouse-sensitivity.com.
Enter a target distance and its unit, plus the axis to test — and your configured DPI, if you know it. Click and hold the red crosshair, then move the mouse exactly the target distance in one straight line. The tool reads your actual DPI to two decimal places.
One honest note: the analyzer’s page returned an error when GameVexo tried to load it directly on 18 November 2026, so these steps follow the tool’s own instructions as quoted in independent guides.
Measure it with a ruler
The manual method uses the same idea as the analyzer, with a ruler instead of a website: DPI is pixels moved divided by inches moved.
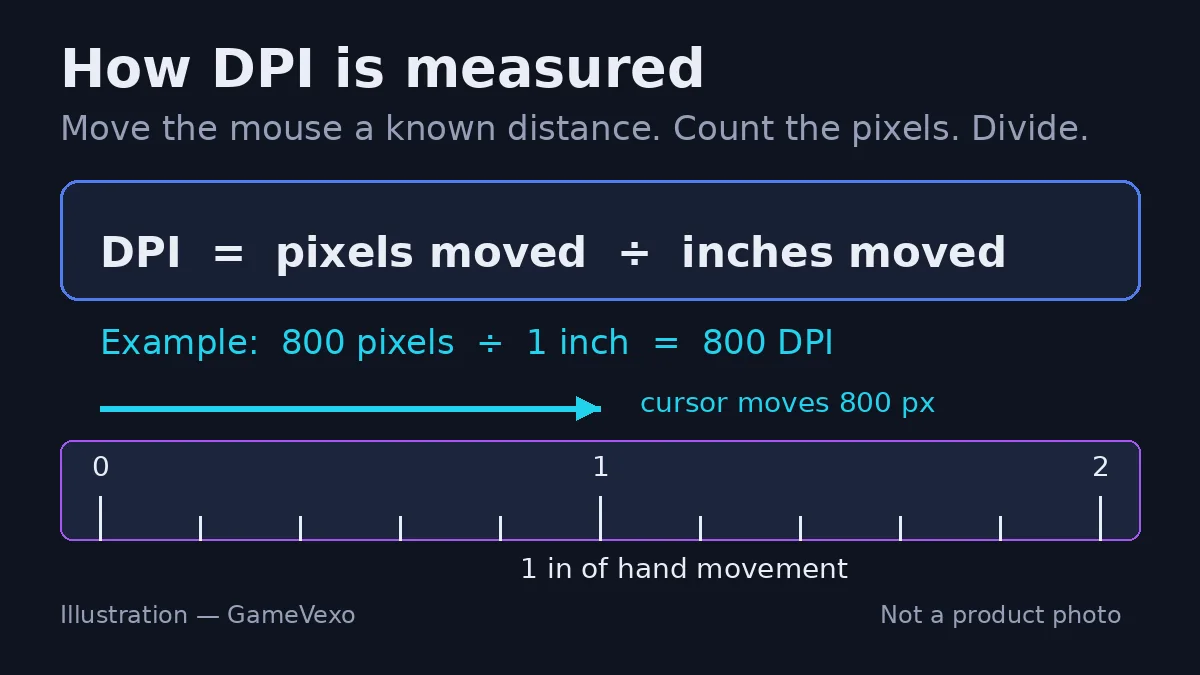
Put a ruler flat on your desk. Note the cursor’s position — a paint app’s status bar shows the exact pixel. Move the mouse exactly two inches in a straight line, then read the new position. Subtract and divide by two: 1,600 pixels over two inches means 800 DPI.
Slower than a software reading, and a shaky hand adds error — but it measures the real sensor value on any mouse.
What Windows and macOS can (and cannot) tell you
Windows has no DPI setting and shows no DPI number anywhere. What it does show is pointer speed: Settings, then Bluetooth and devices, then Mouse, then the Mouse pointer speed slider, which runs from 1 to 20 and sits at 10 by default.
That matters because most games read the mouse directly and ignore Windows pointer speed and acceleration entirely — a setting called raw input.
macOS is the same story with different names: System Settings, then Mouse, then Point and Click gives you a Tracking speed slider, and an Advanced section holds a Pointer acceleration toggle. There is no DPI number in macOS.
What DPI should you use?
Most competitive players run between 400 and 1,600 DPI — 800 is a common starting point. Keep it fixed, and change your in-game sensitivity to tune your aim, not your DPI.
That is where eDPI comes in: your DPI multiplied by your in-game sensitivity. Our guide to the best mouse for valorant goes deeper on eDPI, including the pro average and how to work out your own number.
Lighter mice make a low DPI easier to live with. Our roundup of the lightest wireless gaming mouse models lists the published weight of each one.
What decides your DPI reading
The number you read is only as good as the conditions you read it under.
The software number vs the sensor number
A DPI stage is a setting; the sensor’s real output can sit a little above or below it.
Pointer speed and acceleration
Windows pointer speed and Enhance pointer precision change how far the cursor travels. Turn acceleration off while you measure.
Surface and sensor
A dirty sensor or a glossy surface can make the sensor miss counts.
The number on the box
The biggest DPI figure on the box is a maximum, not a setting. What matters is the stage your mouse is actually using.
Key terms, explained
Five terms come up in every DPI conversation, and two of them are routinely mixed up.
- DPI
- Dots per inch: how many pixels the cursor moves for each inch the mouse moves.
- CPI
- Counts per inch: the same measurement as DPI, under the name SteelSeries uses.
- Polling rate
- How many times per second the mouse reports its position, in hertz. It makes the cursor’s path smoother; it does not change how far the cursor moves.
- eDPI
- Effective DPI: your DPI multiplied by your in-game sensitivity. It decides how far you turn for a given hand movement.
- Pointer acceleration
- A setting that changes cursor speed based on how fast you move the mouse. Windows calls it Enhance pointer precision; games that use raw input ignore it.
Mistakes that cost gamers money
The most expensive mistake is buying a new mouse to fix an aim problem that was just a DPI stage you never checked.
- Trusting the Windows slider as your DPIThe slider changes pointer speed, not DPI, and games that read the mouse directly ignore it.
- Chasing the biggest number on the boxA five-figure maximum sounds impressive, but nobody plays at it.
- Changing DPI instead of in-game sensitivityWhen your aim feels too fast, the fix is usually a lower in-game sensitivity, not a new DPI stage.
- Measuring with acceleration switched onPointer acceleration makes the same hand movement travel a different distance depending on speed.
Frequently asked questions
How do I check my mouse DPI on Windows 11?
Open your mouse maker’s software — Logitech G HUB, Razer Synapse or SteelSeries GG — and read the highlighted DPI stage; that is your current DPI. Windows 11 shows no DPI number: Settings, then Bluetooth and devices, then Mouse only has a pointer speed slider.
What is the easiest way to check DPI without software?
Press the DPI button behind the scroll wheel to cycle through the stages, and watch for the LED colour that marks the active one. If your mouse has no button, use the DPI Analyzer on mouse-sensitivity.com: hold the red crosshair, move the mouse the target distance, and it reads your actual DPI to two decimal places.
Is DPI the same as polling rate?
No. DPI is how far the cursor moves for each inch your hand moves, while polling rate is how many times per second the mouse reports its position. Changing one does not change the other: a mouse at 800 DPI and 1,000 Hz still moves 800 pixels per inch.
Does a higher DPI make my aim better?
No — a higher DPI only makes the cursor travel further for the same hand movement, which makes fine aim harder, not easier. Most competitive players use 400 to 1,600 DPI. What improves aim is a fixed DPI you practise with, plus an in-game sensitivity tuned to it.
What to do next
Open your maker’s software now and read the highlighted stage — that is the number you are actually playing on. No software? Press the DPI button and watch the LED, or run the analyzer once and write the result down.
Then leave the DPI alone and tune your in-game sensitivity instead.
Still deciding? Answer a few questions in Help me choose and GameVexo will narrow it down by your games, platform and budget.
Where to go next
- lightest wireless gaming mousePublished weights for every light mouse we recommend.
- best ambidextrous gaming mouseSymmetrical shapes that work for left- and right-handed players.
Sources
- Logitech: G HUB DPI settings, checked
- Razer: DPI settings in Synapse, checked
- Razer: DPI stages in Synapse, checked
- SteelSeries Rival 310: CPI 1 and CPI 2, checked
- SteelSeries Prime Mini: CPI button levels, checked
- Microsoft: Change mouse settings, checked
- Apple: Change the mouse settings on Mac, checked
- DPI Analyzer (mouse-sensitivity.com), checked — the page returned an error when loaded directly
Explore


Article engagement
Comments (0)
No comments yet. Be the first to share what you think.
Sign in to join the conversation.